In this guide, how to install RVC on your computer and run locally
Download RVC
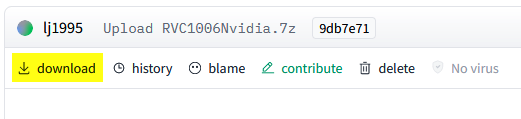
RVC Project has made portable version in zip file, this method are much quicker as you can download with IDM. At this time of writing, version 1006 is most recent.
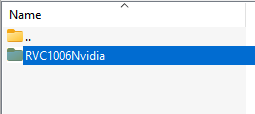
Click download as shown below
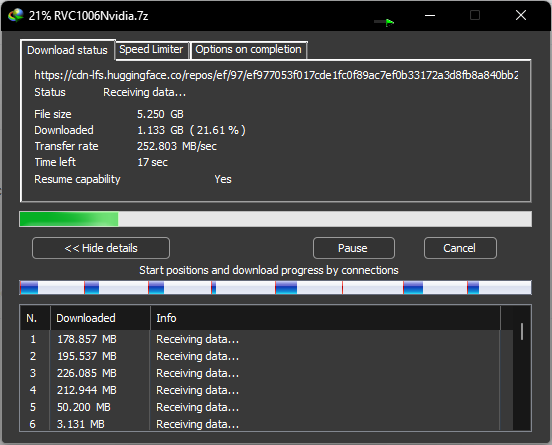
Wait download to finish
Install
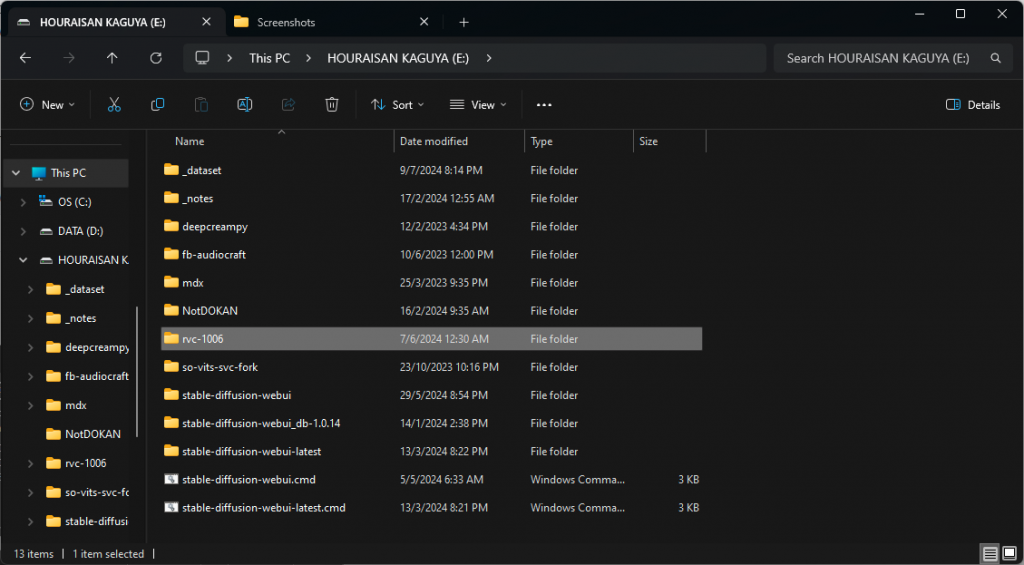
Once download complete, open the 7z file and extract to place you want, for me I extract to E:\ drive and rename to rvc-1006
Run
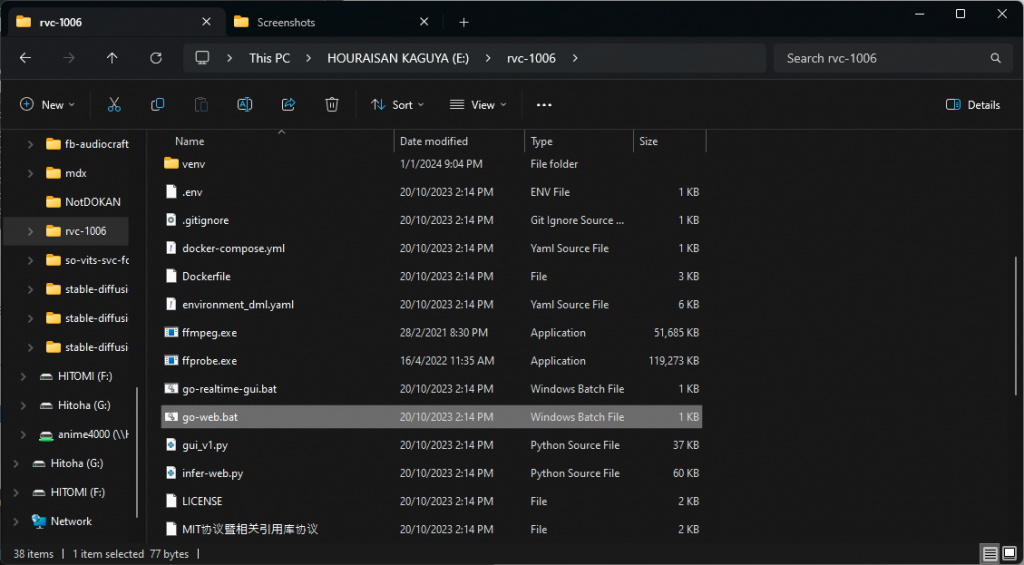
Once extracting complete, to run as user, execute go-web.bat as shown below.
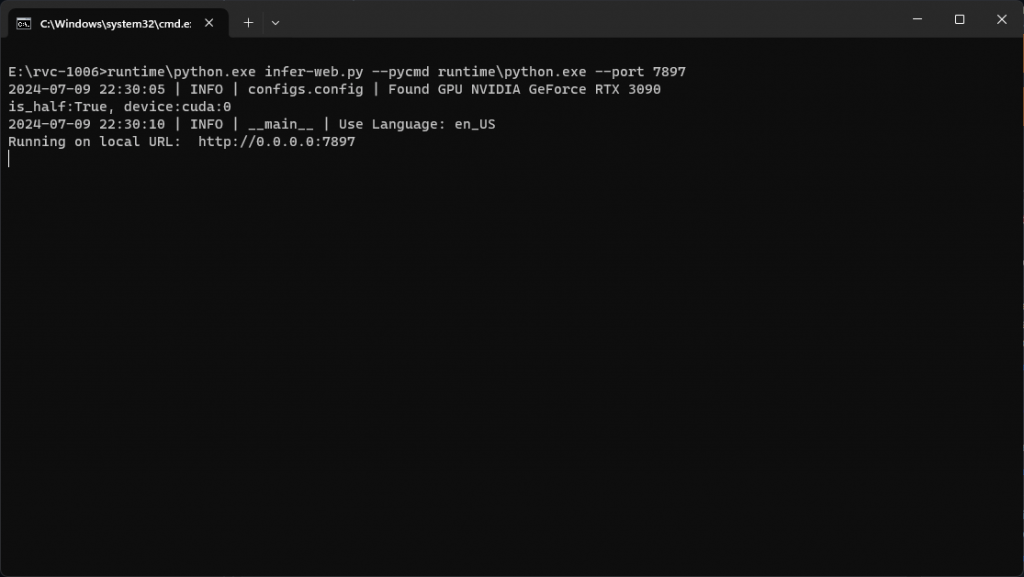
RVC will open Web GUI automatically with default browser that you set
Training
By default, RVC ship a simple model that you can play with, but this guide show how to train custom model, most lengthy process is prepare dataset
Prepare Dataset
In order training to work, you must gather a clean voice:
- No background noise
- No background music
- No echo
- No reverb
Audio format that RVC accept can be any (MP3, MP4, OGG, OPUS). For better, convert voice dataset to WAV file, preprocess will be quicker.

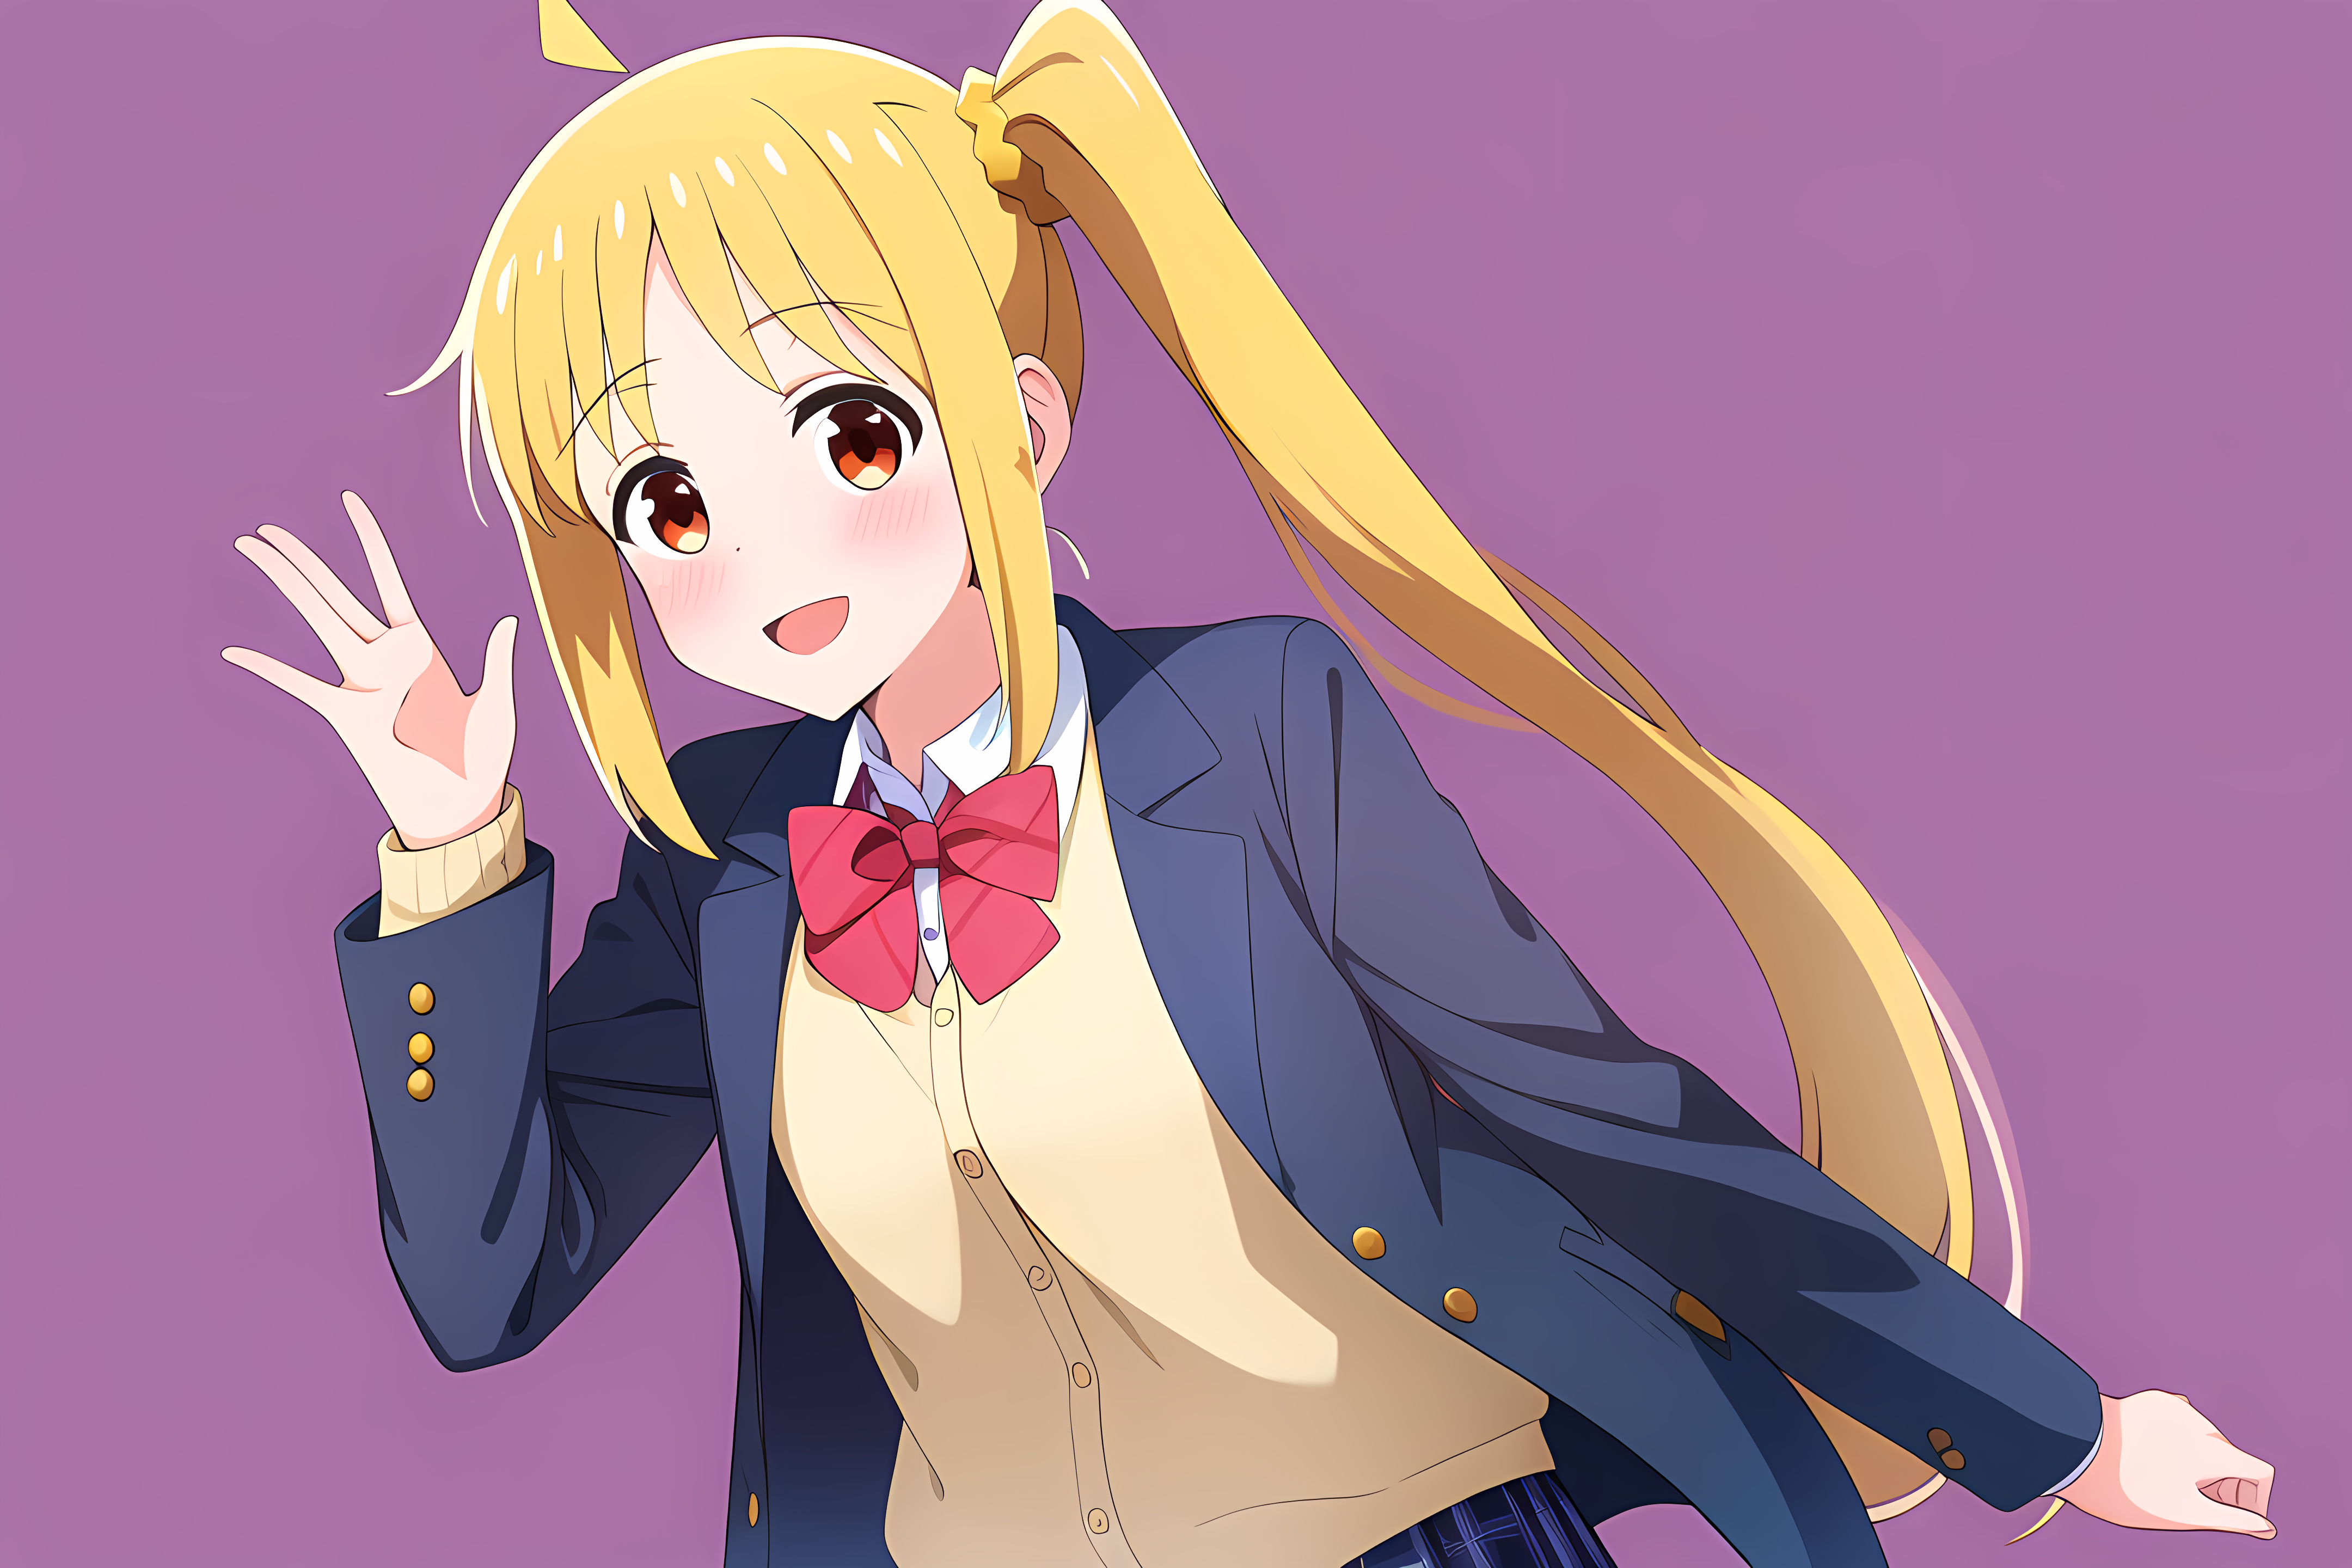
For this example, I will be using my waifu: Ijichi Nijika from Bocchi the Rock. Her voice can be get from this YouTube because uploader has remove background noise, music, echo and reverb. Nijika voice in plain
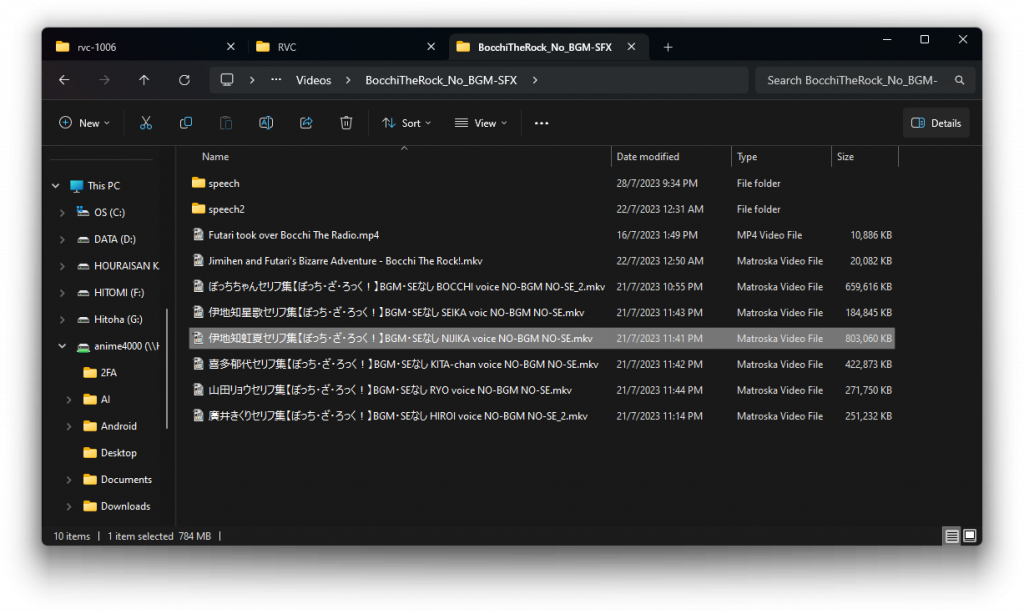
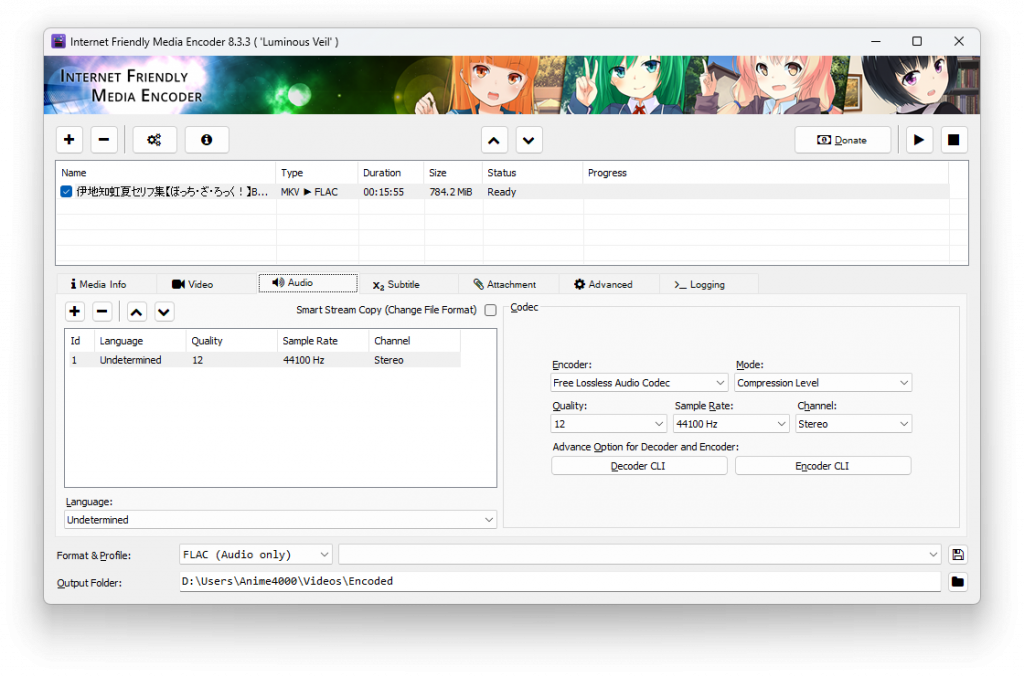
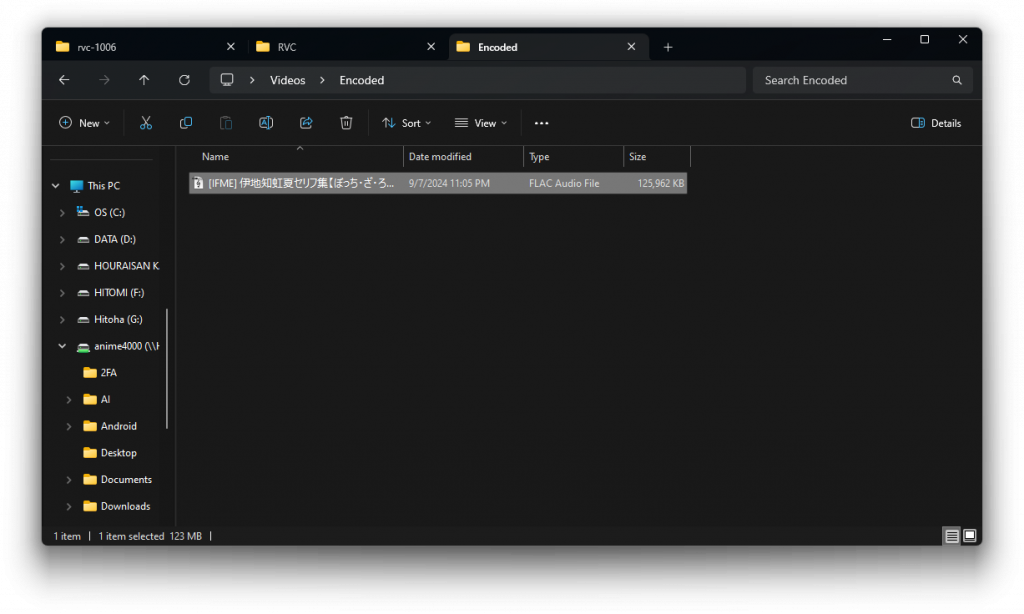
Convert the MKV (VP9, Opus) file to FLAC file by using Internet Friendly Media Encoder:
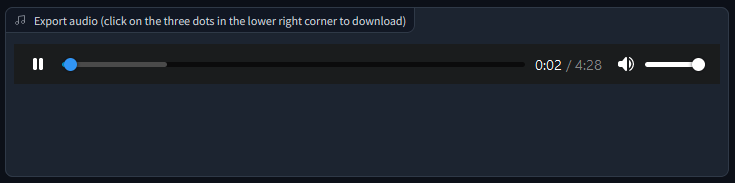
Once convert is complete, open the FLAC file in Audio Editor, for me, Adobe Audition, this time we need split her voice into 10 sec or less:
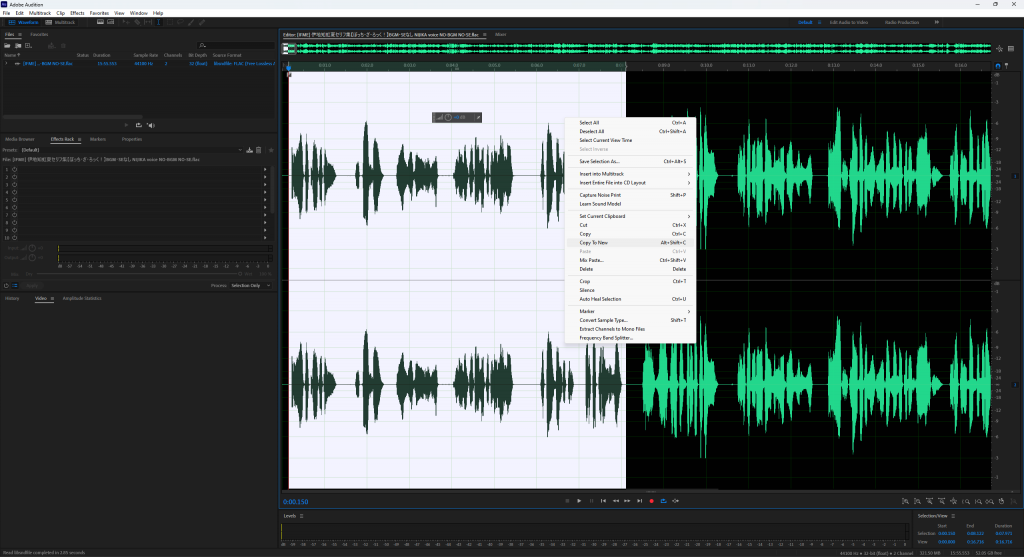
Once you split her voice in 10 seconds or less, save it in WAV file like this and gather around 10 file or more:
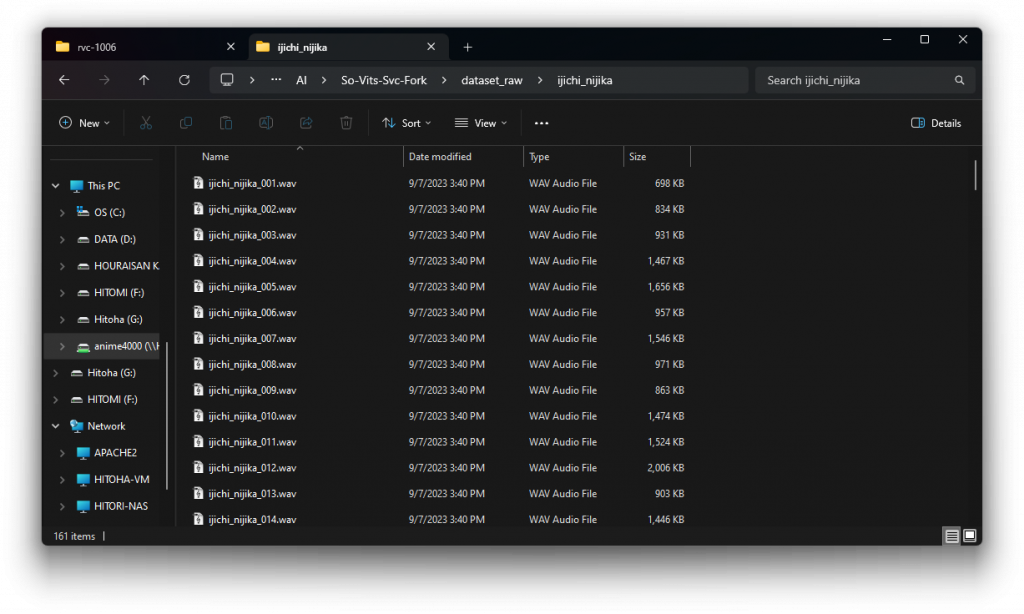
If you too lazy, I have prepared the dataset, simply extract it:
Let’s Training
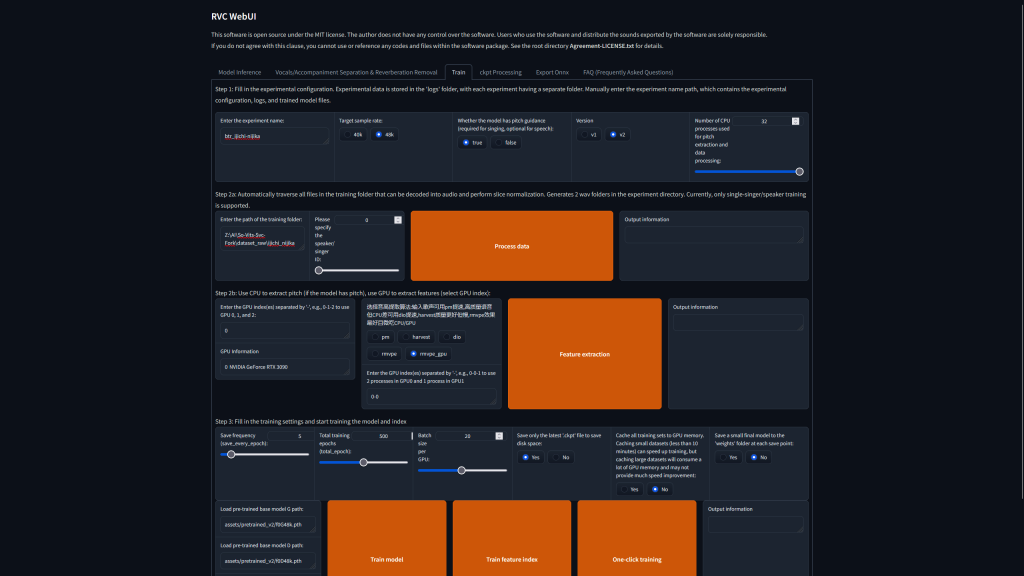
What we need
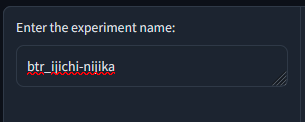
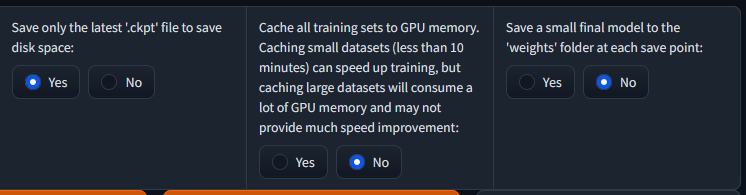
Give a name (no space!):
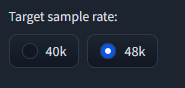
Higher Sample Rate:
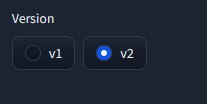
Use V2
How many CPU thread you have? set to that or less

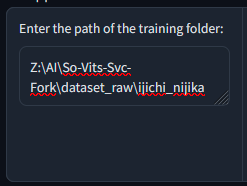
Folder location that contain wav dataset:
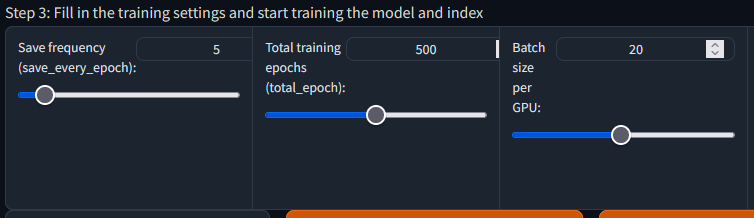
Size of training, adjust Batch size per GPU based on VRAM you have, RTX3090 can use 20 batch:
Follow this
Once everything is set, click One-click training:
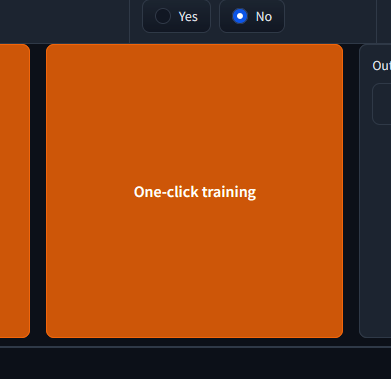
Wait training to complete
Training can take time based on how many dataset you have, how powerful your GPU is, for this time just wait until training complete, check the Windows Command Prompt console
Split Music & Voice
This step show how to split music and voice, even background choir, for this to work, we need:
Ultimate Vocal Remover
UVR5 can be download here: GitHub Release
Download UVR Model
Click wrench icon (settings) and go to here:
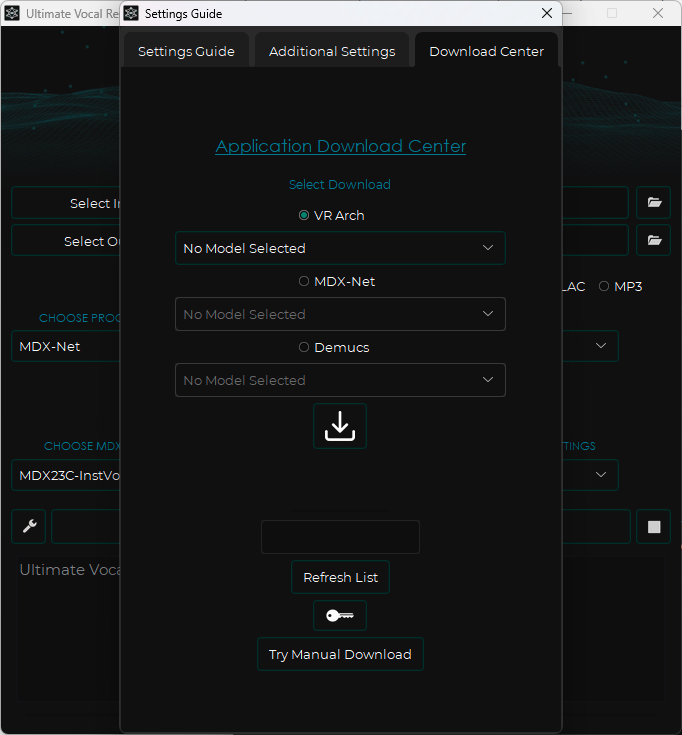
You need
VR Architecture
- UVR-DeEcho-DeReverb
- UVR-De-Echo-Aggressive
- UVR-DeNoise
MDX-Net
- MDX23C-InstVoc HQ
- UVR-MDX-NET Karaoke
- UVR-MDX-NET-Voc_FT
- UVR_MDXNET_9482
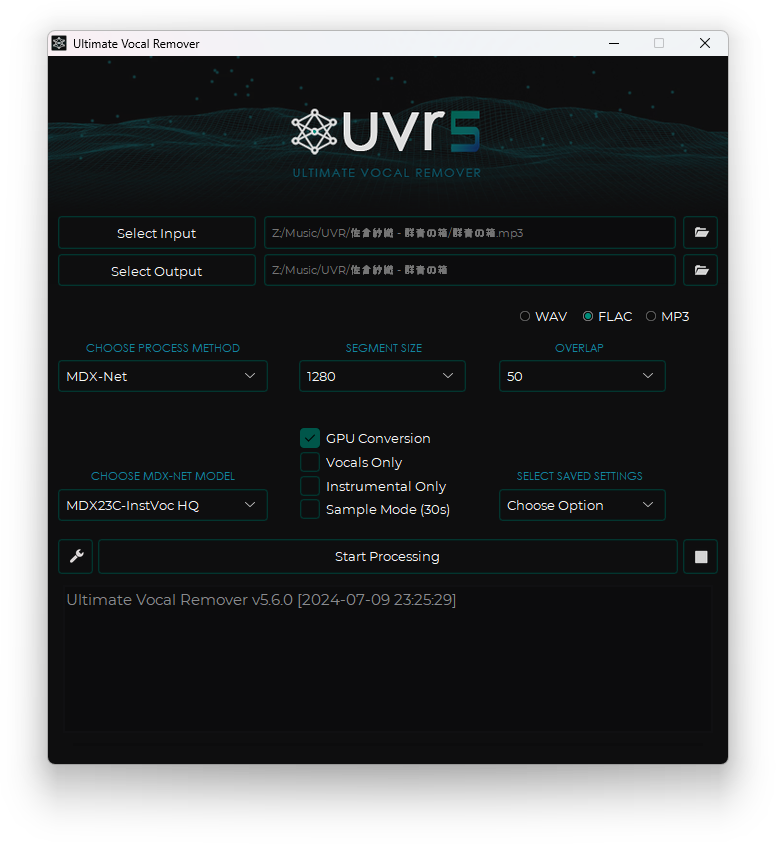
Set Input File/Output Folder

Step to Properly Split Audio Stem
Split Music & Voice
If music have background choir, do this: MDX-Net ➡️ UVR-MDX-NET Karaoke
If music only have one singer, do this: MDX-Net ➡️ MDX23C-InstVoc HQ -or- UVR-MDX-NET-Voc_FT
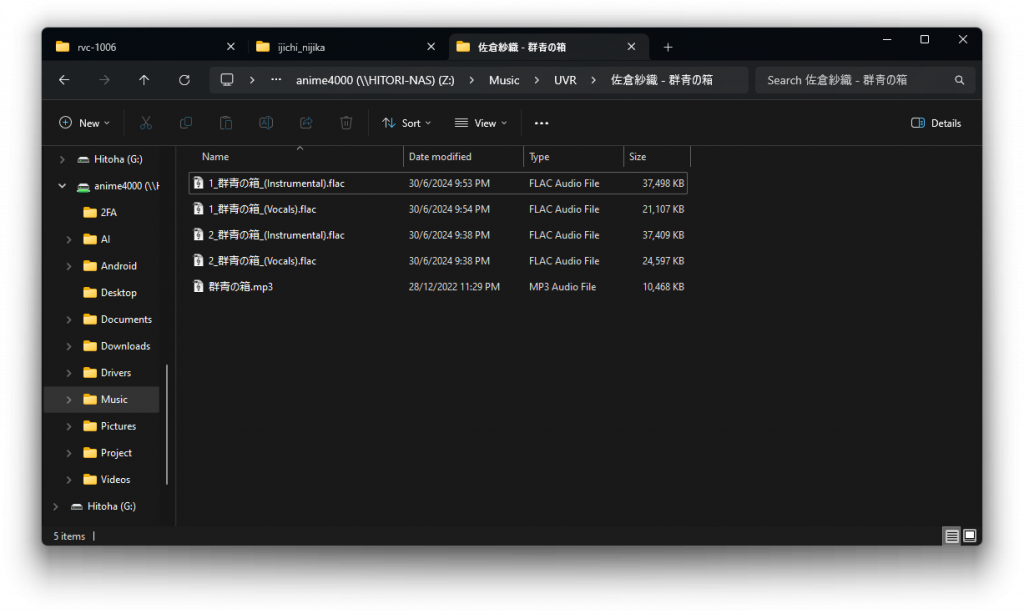
Once process splitting the stem is complete, open the Output folder, UVR will create s sub-folder of music file name like this, then use processed file back to UVR for further cleanup:
Remove Echo & Reverb
VR Architecture ➡️ UVR-DeEcho-DeReverb
Remove Noise
VR Architecture ➡️ UVR-DeNoise
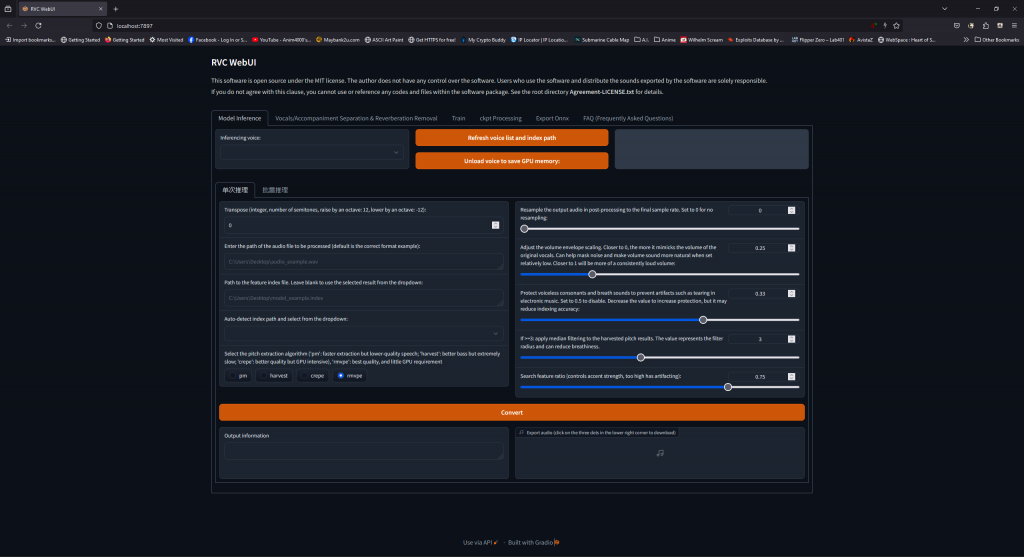
Change the Voice
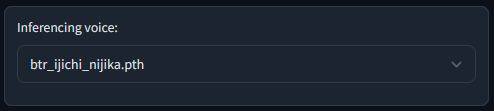
Back to RVC Web GUI, Model Inference tab, then click Refresh voice list and index path button to refresh newly training file

We Need
Choose newly trained model:
Set to 44100, this making editing later easy:

If Set the voice octave (Male ➡️ Female: Positive, Female ➡️ Male: Negative)

Input voice file path

Index file

Inference!
Click Convert to change the original voice

Once complete, it will show here